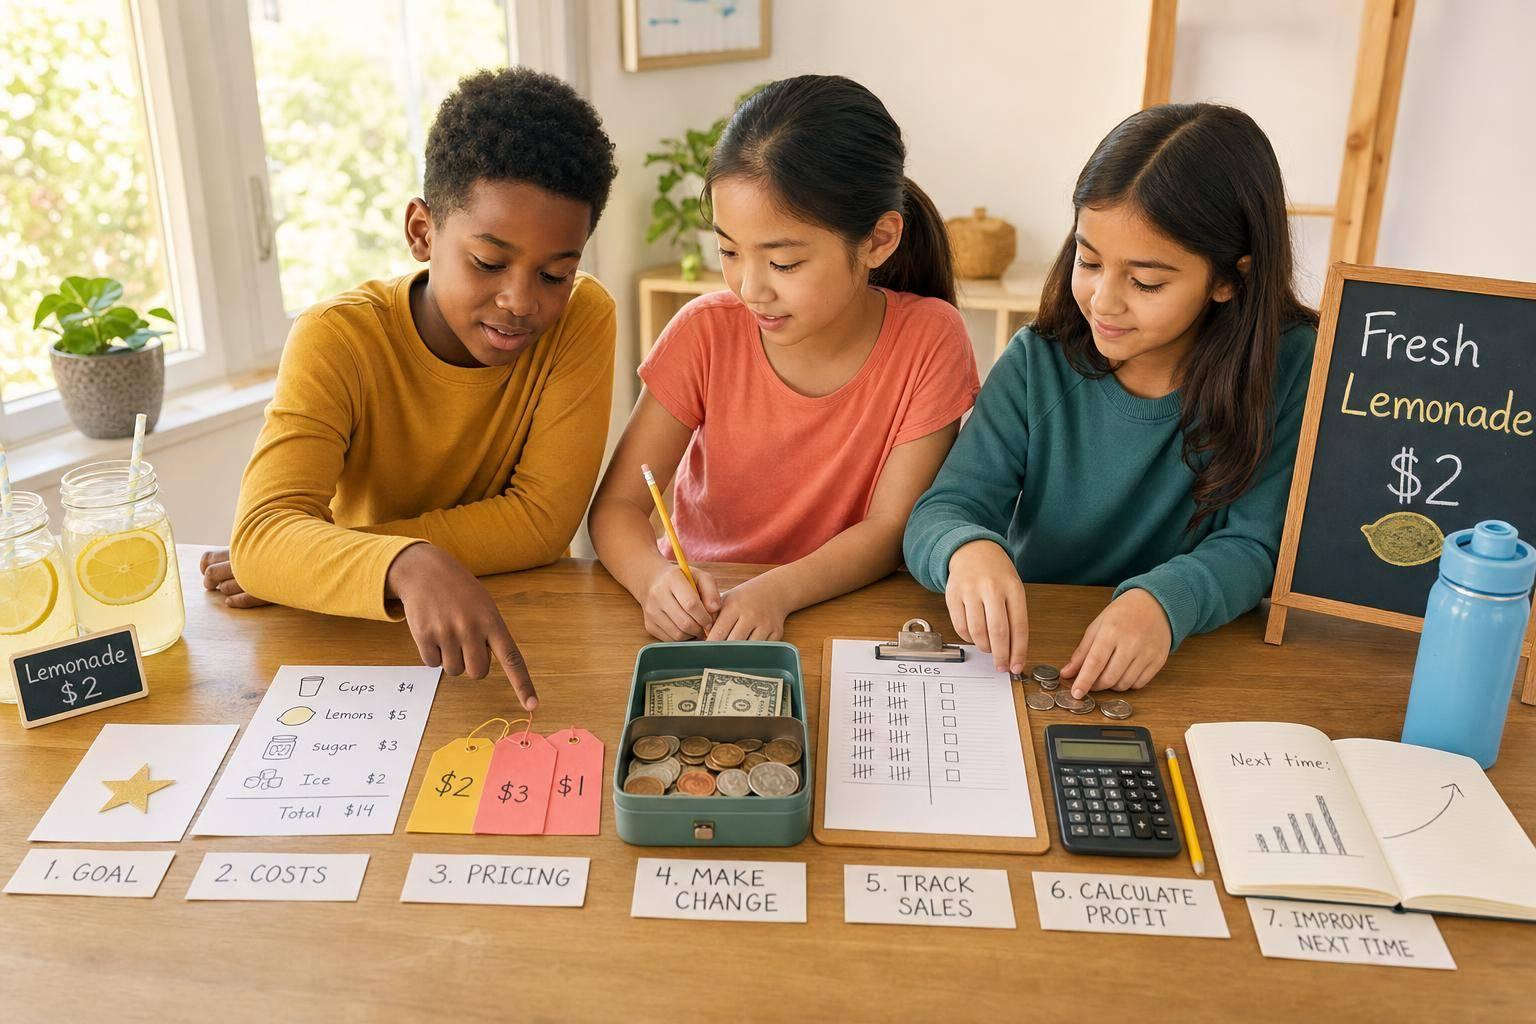

Yes, a kid can help sell digital stickers online - but a parent has to run the shop. The basic setup is simple: the child draws sticker packs, the parent lists them on a platform like Etsy, and buyers download the files right after paying.
Here’s the short version:
- Kids make transparent PNG stickers for planner apps like GoodNotes and Notability
- A parent handles the account, payments, buyer messages, and safety rules
- A common starting range is about $3.00 to $5.00 for small packs, $5.00 to $8.00 for medium packs, and $10.00 to $20.00 for large bundles, so check similar listings before you price
- Packs usually include 20 to 50 files in a ZIP folder plus a short help file
- Since there is no printing or shipping, costs can stay low
- Kids can help with design, naming, mockups, and short promo clips
- Sales should be tracked with the date, price, fees, and profit
- A simple first goal like $50 in the first month gives the child a clear target
In short: draw, pack, list, promote, track, repeat. The main job is not just making cute art. It’s making sticker packs people want, pricing them in a clear range, and keeping the shop safe and parent-run.
What matters most is keeping the process simple:
- use one theme per pack
- keep the style matching
- label files clearly
- tell buyers it is a digital download
- avoid using names, photos, or private details tied to the child
- only sell art and assets the family has the right to sell
Here is how the math can look. Gumroad lists 10% + $0.50 per direct sale, so a sample $8.00 sale leaves $6.70 after a $1.30 fee. Etsy fees vary, so check Etsy's current fee page before you set prices. That kind of tracking helps a child see where the money goes.
For parents, the short version: digital stickers give kids a simple first online business, even compared to a slime vs lemonade stand, as long as the parent handles the public side and the child focuses on the art.
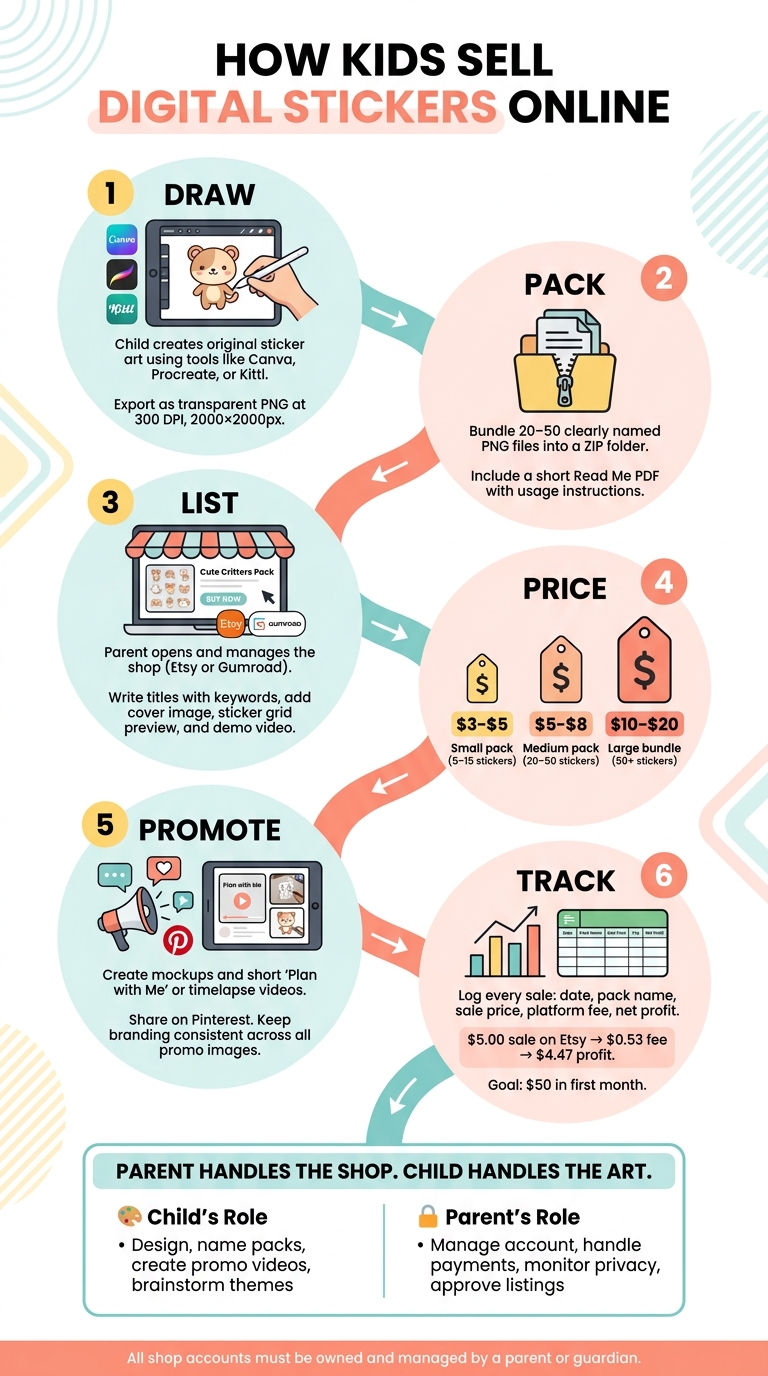
How Kids Sell Digital Stickers Online: Step-by-Step Process
1. Design Digital Stickers Kids Can Sell
Pick beginner-friendly design tools and file settings
Start with the tool that fits the device you already have at home. Canva is a solid pick for beginners on a computer or tablet. Procreate is a good match for kids who like drawing by hand on an iPad. Kittl works well on a computer if you want templates and design elements that look polished.
Export each sticker as a transparent PNG so it drops into planner apps cleanly. If the background isn’t transparent, the sticker will show up with a white box around it. Set designs to 300 DPI and export single stickers at about 2,000 × 2,000 pixels, or make sticker sheets at 8.5 × 11 inches. If you’re using Procreate, keep line art, base colors, and shadows on separate layers. That makes edits much easier later.
Choose sticker themes that match real demand
Once the tools are ready, keep the pack focused: pick one theme, one buyer, and one style.
Themes that often sell well include:
- Functional planner stickers
- Habit trackers
- Checklist icons
- Aesthetic styles like kawaii and cottagecore
- Affirmation stickers and other positive designs
That last group works well because buyers get something useful and encouraging at the same time.
After you choose a theme, keep the color palette and line thickness consistent across the whole pack. That way, the stickers feel like one complete set instead of a random mix.
Package files so customers can use them easily
Good packaging makes the download easier to use from the start. Put the pack in a ZIP file with 20–50 clearly named PNGs and a short Read Me file. In the Read Me, explain how to import the stickers into GoodNotes or Notability. Also state that the files are for personal use only and can’t be resold.
Once the files are ready, the next move is setting up the shop and pricing the packs.
2. Set Up a Parent-Supervised Shop and Price the Sticker Packs
Open the shop under a parent account
A parent or guardian should own the account, manage payments, and handle buyer messages. That setup lets the child focus on making the stickers instead of dealing with account issues. This hands-off approach lets the child focus on the art.
For the profile, use a logo or avatar instead of a photo of the child. Pick a shop name that says what you sell and includes a keyword like "stickers" instead of using the child's real name.
Each listing should clearly explain:
- the file types included
- the number of stickers in the pack
- how the stickers are meant to be used
- that the item is a digital download
The title should show the style, file type, and purpose. For visuals, use a clean cover image, a full sticker grid, and a short demo video so buyers can see what they're getting at a glance. It also helps to include a short Start Here PDF with unzip steps and basic use instructions.
Once the shop is live, the next job is setting prices that fit the pack size and the people you're selling to.
Price sticker packs in dollars
Pricing comes down to three main things: how many stickers are in the pack, how long they took to design, and what buyers in that niche expect to pay. Functional stickers - like budget trackers, habit logs, and planner icons - can often sell for a bit more than decorative packs because they help people do something specific. A common starting range is below. Check similar listings in your niche before you set a price.
| Pack Size | Common Starting Range | What the buyer gets |
|---|---|---|
| Small (5–15 stickers) | $3.00–$5.00 | High-quality art, specific theme, transparent backgrounds |
| Medium (20–50 stickers) | $5.00–$8.00 | Matching look, ready-to-use PNGs for planner apps |
| Large (50+ stickers) | $10.00–$20.00 | Big bundles, seasonal sets, or complete collections |
Before you lock in a price, subtract platform fees so you know what you’ll keep from each sale. A lot of shops start on the lower end, then move prices up after they collect reviews and build some trust.
After pricing is set, the focus shifts to getting buyers to see the listings.
3. Market the Stickers and Run the Business Safely
Simple marketing a child can help create
Once the sticker pack is ready, the next step is getting people to notice it. Mockups are a simple way to do that because they show the stickers in use instead of sitting flat on a page. A child can help pick which stickers look best in the mockup and decide how to place them. It also helps to keep the name, theme, and colors the same across every promo image so the pack feels easy to recognize
Short "Plan with Me" clips or drawing timelapse videos work especially well in this niche. They let people see the stickers being placed on a digital planner page, which makes the product feel more real. Pinterest is a strong fit here because it works more like a search engine than a social feed. A child can help make these videos without showing their face or sharing any personal details
Use the same theme, colors, and style in every promo image.
Protect privacy and follow basic copyright rules
Privacy comes first. A child should never share their full name, school, home address, or live location anywhere tied to the shop. That includes bios, videos, and customer messages.
On the art side, stick to original drawings, commercially licensed elements, and fonts that allow commercial use. Don't use movie, game, or TV characters, even if the art is redrawn. Some marketplaces also ask sellers to say when AI helped make the main artwork. It also makes sense to add a one-line personal-use notice in the download
Split tasks between the child and the parent
Keep the roles clear and simple: the child makes, and the parent handles public posting and safety.
| Child's Responsibilities | Parent's Responsibilities |
|---|---|
| Drawing and designing original sticker art | Monitoring online safety and privacy rules |
| Naming sticker packs and choosing themes | Managing public-facing social media and marketing accounts |
| Brainstorming customer ideas and trending styles | Overseeing customer messages and shop activity |
| Creating "Plan with Me" or drawing timelapse videos | Checking that artwork, fonts, and other assets can be used for sales |
| Testing products with friends for feedback | Reviewing listings, downloads, and privacy details before anything goes live |
4. Track Sales, Learn From Results, and Plan the Next Pack
Track revenue, fees, and profit in a simple system
Once the first pack is live, it’s time to look at the numbers and see what they’re saying. A spreadsheet or even a printed tracker works fine. Record each sale in U.S. dollars, and log the date in MM/DD/YYYY format, the pack name, the sale price, the platform fee, and the net profit after fees and costs are taken out. It also helps to note refunds, favorites, and customer questions so patterns start to show over time.
A simple weekly tracker looks like this:
| Date | Item Name | Sale Price (USD) | Platform Fee | Other Costs | Net Profit |
|---|---|---|---|---|---|
| 6/29/2026 | Kawaii Cat Pack | $5.00 | Varies (check Etsy's current fees) | $0.00 | $5.00 minus Etsy fees |
| 6/30/2026 | Planner Icons | $8.00 | $1.30 (Gumroad, 10% + $0.50) | $0.00 | $6.70 |
| Totals | $13.00 | $1.30 + Etsy fees | $0.00 | $11.70 minus Etsy fees |
Check the totals every week or month. A small first target, like $50 in the first month, gives the child something clear to work toward.
Use each launch to build entrepreneurship skills
After a few sales come in, each launch becomes a chance to learn. Look at impressions, clicks, favorites, refunds, and conversion rate. If lots of people click but only a few buy, the preview images or product description may need work. If buyers keep asking the same thing, update the product’s “Readme” file so the answer is there from the start.
It also helps to track which themes - like kawaii, cottagecore, or productivity - get the best response. That makes the next pack easier to plan. If one style keeps selling, a matching bundle or an “Advanced” version may be the right next move. Bit by bit, each launch teaches the child how to make smarter choices.
Conclusion: The simple path from drawing to earning
The process is simple: record each sale, subtract fees and costs, and use the totals to brainstorm the next pack. Looking at results weekly or monthly turns every launch into practice with goal setting, trend analysis, and problem-solving.
If your child would rather start with something hands-on and offline first, the My Lil Startup Slime Business Kit is another first business option.
FAQs
How much can a kid realistically earn selling digital stickers?
It varies. A common starting range is about $3 to $9 per pack, but check similar listings before you set a price.
There is no inventory to buy, but platform fees still apply, and the payout goes to the parent's account.
What kind of stickers are most likely to sell first?
Digital stickers often make a strong first product, especially for planning and note-taking apps like GoodNotes.
A few niches tend to do well:
- Productivity and planner stickers
- Mental health and affirmation designs
- Cute or kawaii characters
- Seasonal themes
- Stickers for hobbies or pet lovers
To give yourself a better shot, use specific long-tail keywords. It also helps to group your stickers into themed bundles with 15 to 20 elements instead of listing random designs one by one.
What does a parent need to do to keep the shop safe and legal?
Parents should be part of this from day one. Most marketplaces require an adult account holder, so parents need to take care of the account setup, submit the needed documents, and manage payment processing.
That keeps the shop in line with platform rules while the child focuses on making digital stickers. Clear communication matters too. So does polite, professional customer service. Together, those things help create a safe and positive experience.